Handling Alerts in Browser Automation Using Python and Selenium
Written on
Chapter 1: Introduction to Alert Management
In our previous discussion, we delved into the topic of working with cookies. This time, we will focus on how to effectively manage alert dialogs in web automation.
Alerts are pop-up windows that can appear as a result of user actions or system triggers. Their primary functions include providing information, seeking user permission, or collecting input from users.
The Selenium WebDriver's Alert API offers methods to interact with these pop-up message boxes, which can be divided into three distinct categories:
- Simple Alert
- Confirmation Alert
- Prompt Alert
Section 1.1: Simple Alerts
A simple alert presents a custom message along with a single button, typically labeled "OK," to dismiss the alert. When an alert appears, control remains with the parent window until we switch to the alert to take action.
You can accept an alert using the accept() method, cancel it with the dismiss() method, retrieve the alert's text via the text property, or fill prompts using the send_keys() method.
In the following example, we generate an alert by executing JavaScript and then switch control to it, read its text, and close it using the accept method.
This video demonstrates how to handle alerts in Selenium with Python, showcasing the accept() and dismiss() methods.
Section 1.2: Confirmation Alerts
Similar to a simple alert, a confirmation alert also includes an additional "Cancel" button. The same API methods can be utilized to manage this type of alert.
Prompt Alerts
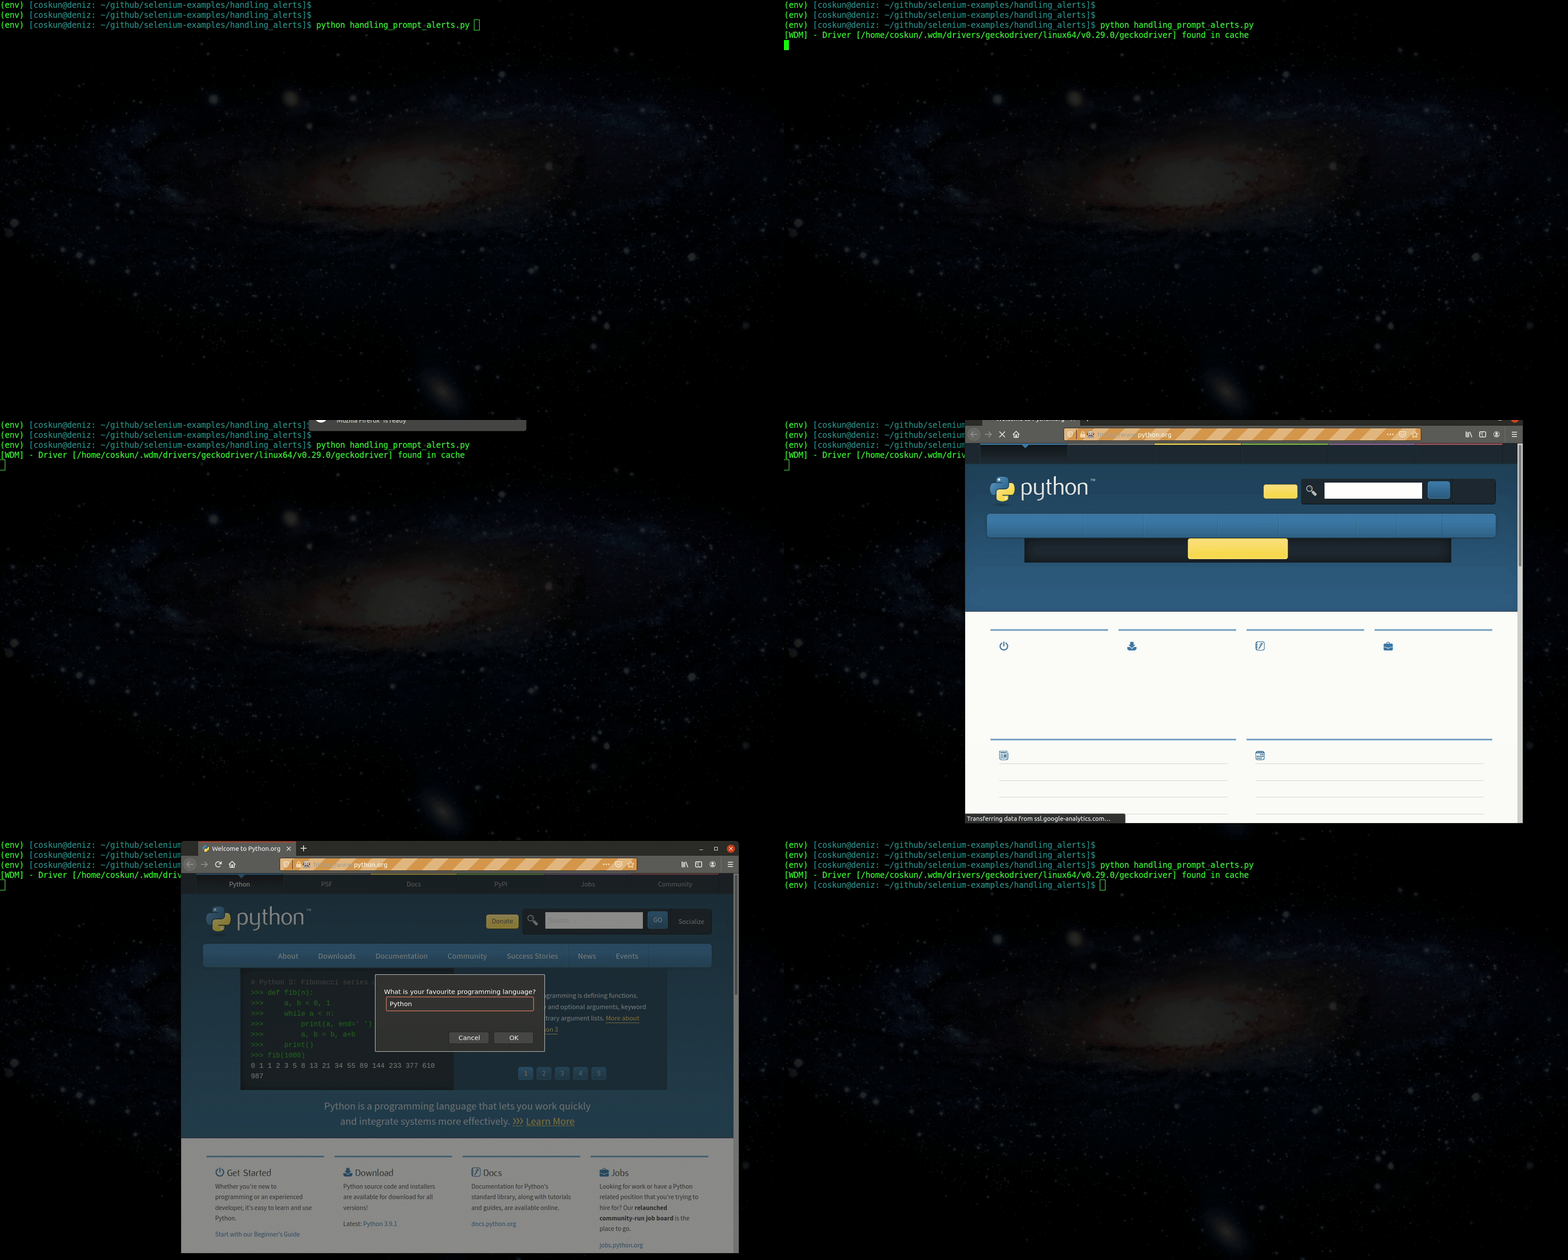
Prompt alerts extend the functionality of confirmation alerts by incorporating a text input field for user input. This field can be populated using the send_keys() method. The following example creates a prompt dialog and inputs "Python" into it.

Handling exceptions is crucial when working with alerts. For instance, attempting to send input to a simple or confirmation alert using the send_keys() method will raise an ElementNotInteractableException.
Section 1.3: Common Exceptions
The ElementNotInteractableException indicates that the user prompt is not interactable. If you try switching to alerts before they are displayed, you may encounter a NoAlertPresentException. To mitigate this issue, employing an explicit wait to allow alerts to appear is advisable.
In the following example, we first attempt to switch to an alert created after a 3-second timeout, which results in a NoAlertPresentException. On the second attempt, we use an explicit wait with the alert_is_present condition, successfully switching to the alert and closing it with the accept method.
This video explains web automation testing with Selenium, specifically focusing on alerts and pop-ups.
Things to Remember
- Alerts are pop-up windows triggered by user actions or system settings.
- There are three types of alerts: Simple, Confirmation, and Prompt.
- Use the accept() method to accept alerts, dismiss() to cancel them, and send_keys() for prompts.
- Always switch control to the alert using the switch_to method to perform actions.
- ElementNotInteractableException occurs if you attempt to send input to simple or confirmation alerts.
- NoAlertPresentException is raised when trying to switch to alerts that are not yet visible.
In our next installment, we will explore how to interact with select elements. Thank you for your attention!